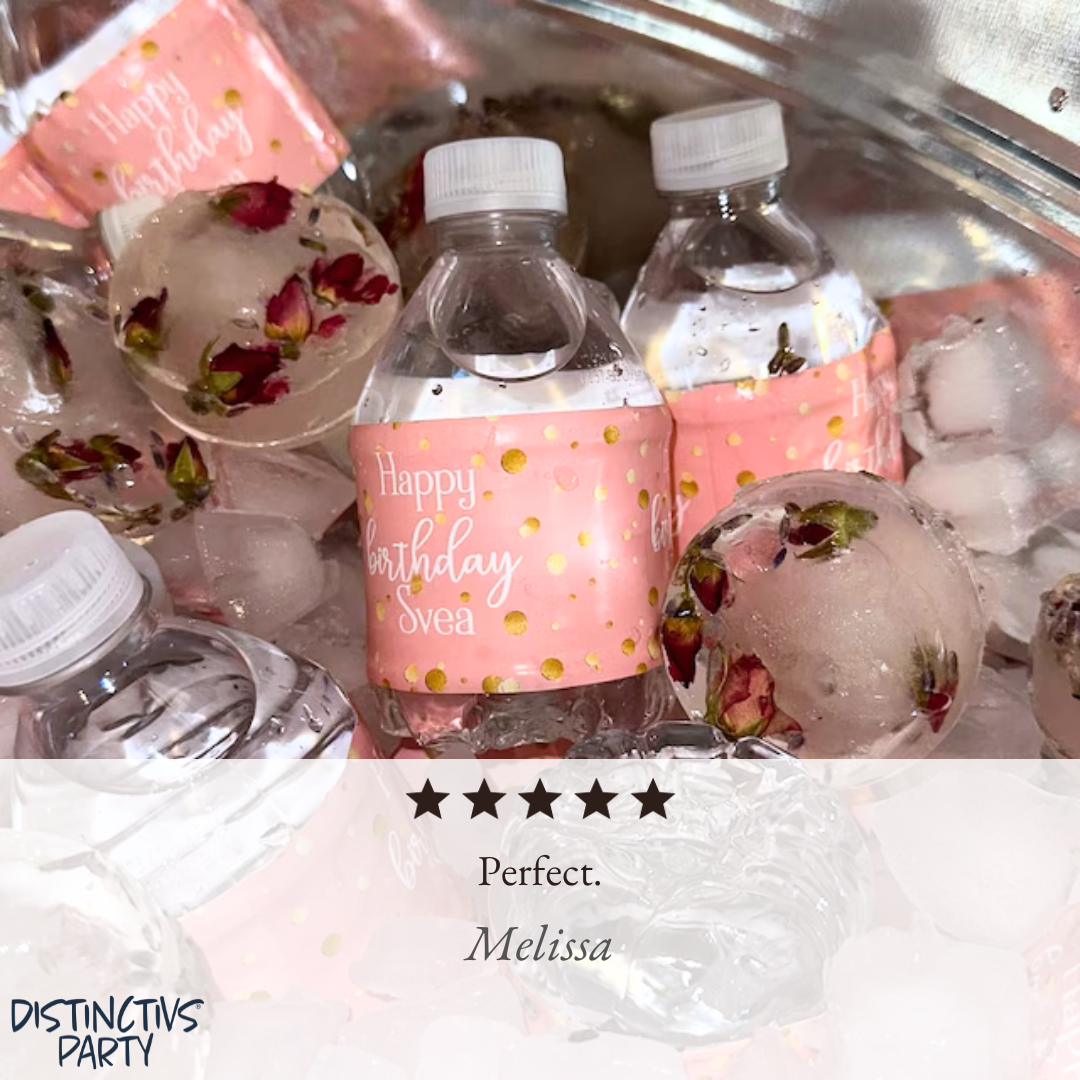
Water Bottle Labels
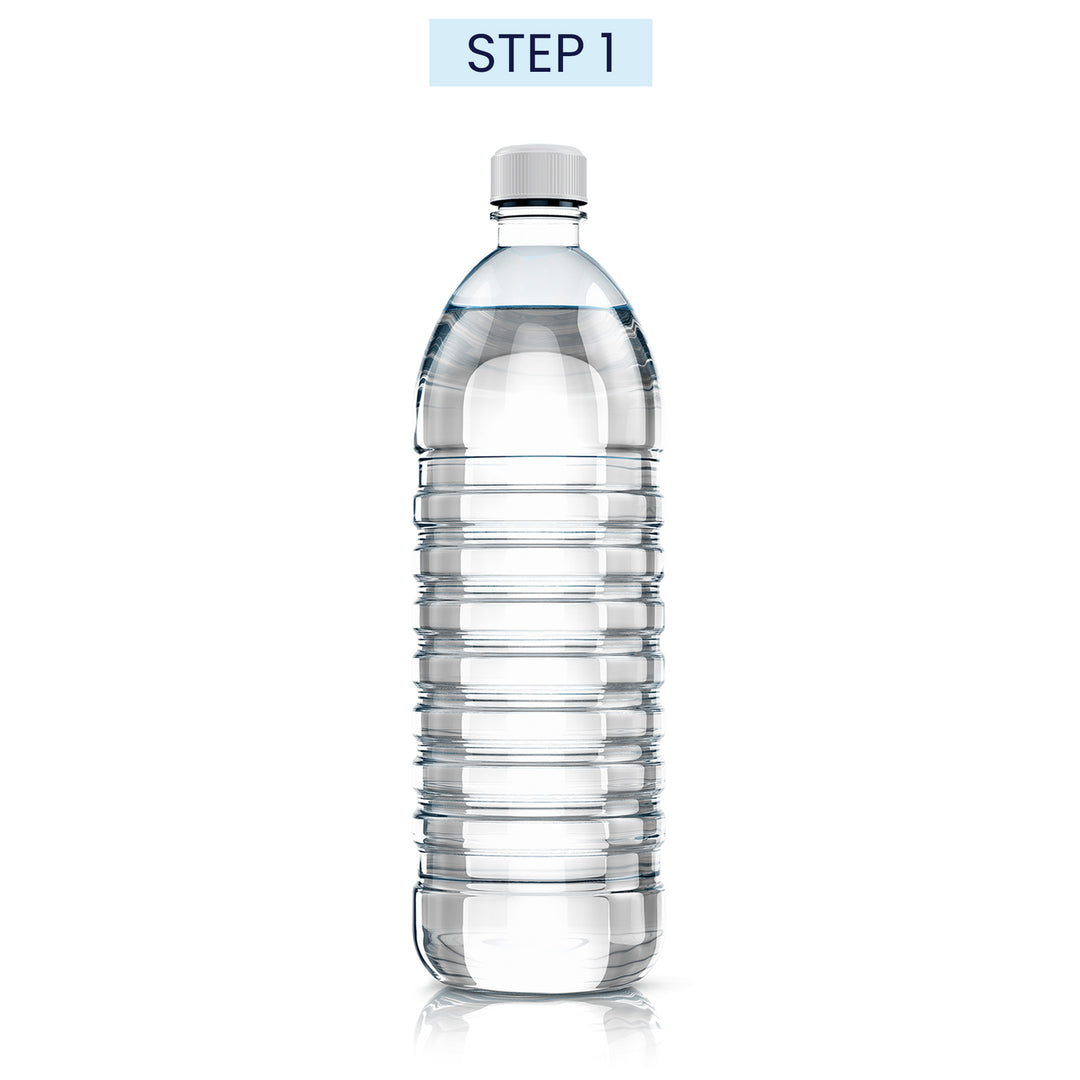
Step 1: Prep Your Bottles
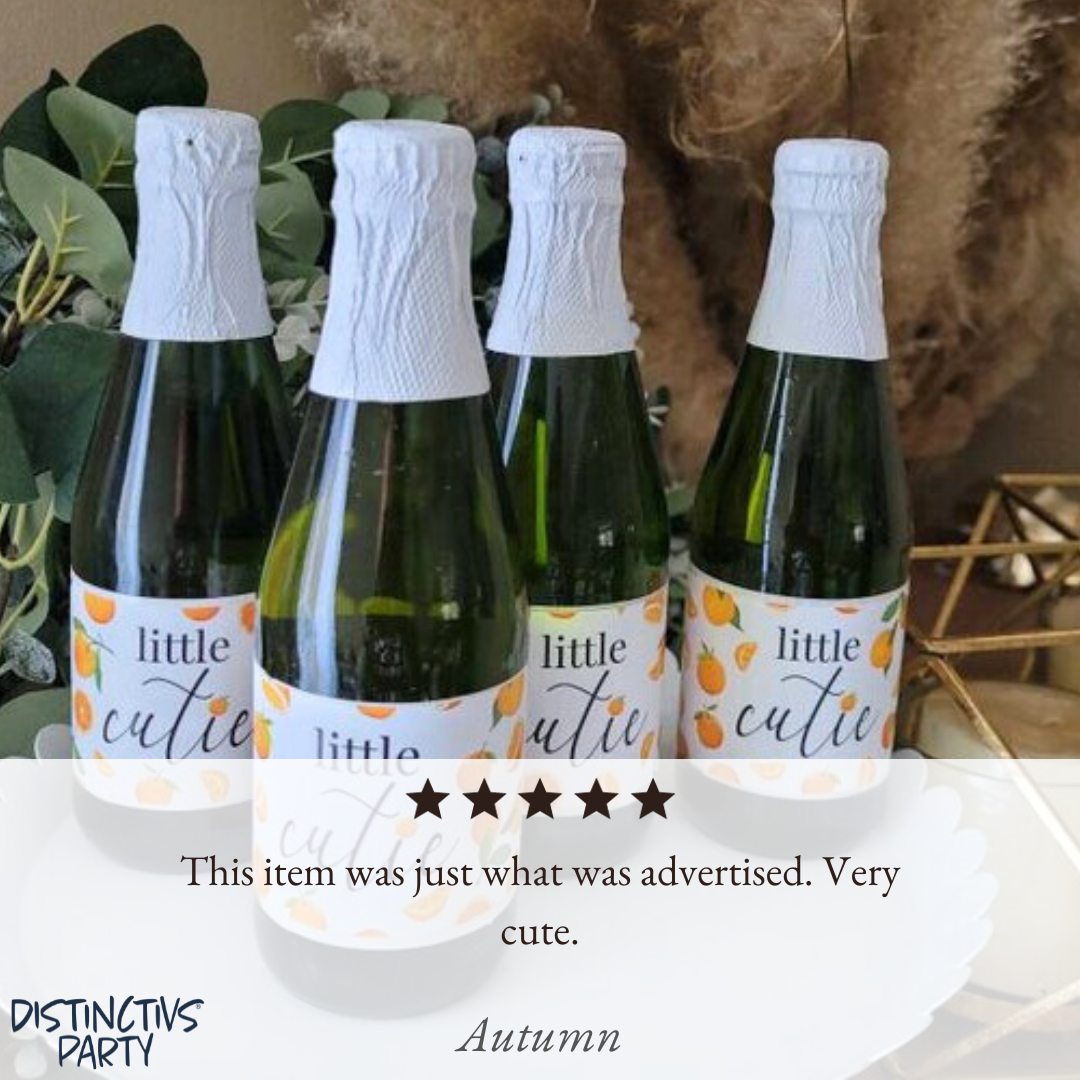
Unwrap the original labels from dry, room temperature water bottles. Our stickers are versatile and designed to fit both standard and mini-sized water bottles. Get creative with your choices – some customers even use them on small wine bottles or juice bottles for a personalized touch that suits various beverage options. The flexibility of our stickers allows you to tailor them to different bottle sizes, ensuring a perfect fit for your preferred refreshments.
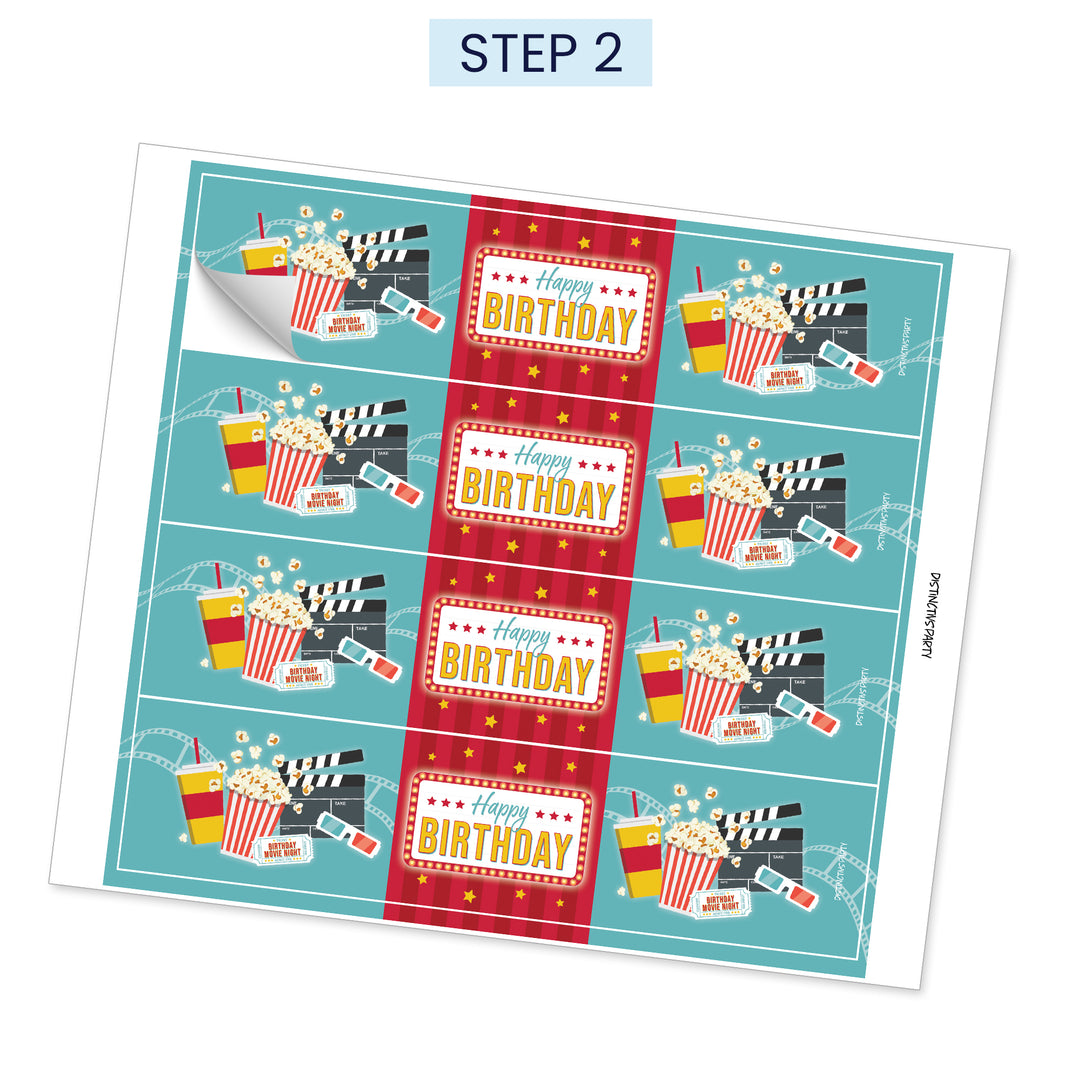
Step 2: Peel From Sheet
Remove the sticker from our easy peel sheet with gentle and steady movements. The easy peel stickers are designed for a hassle-free experience, allowing you to effortlessly lift the stickers from the sheet without fuss.
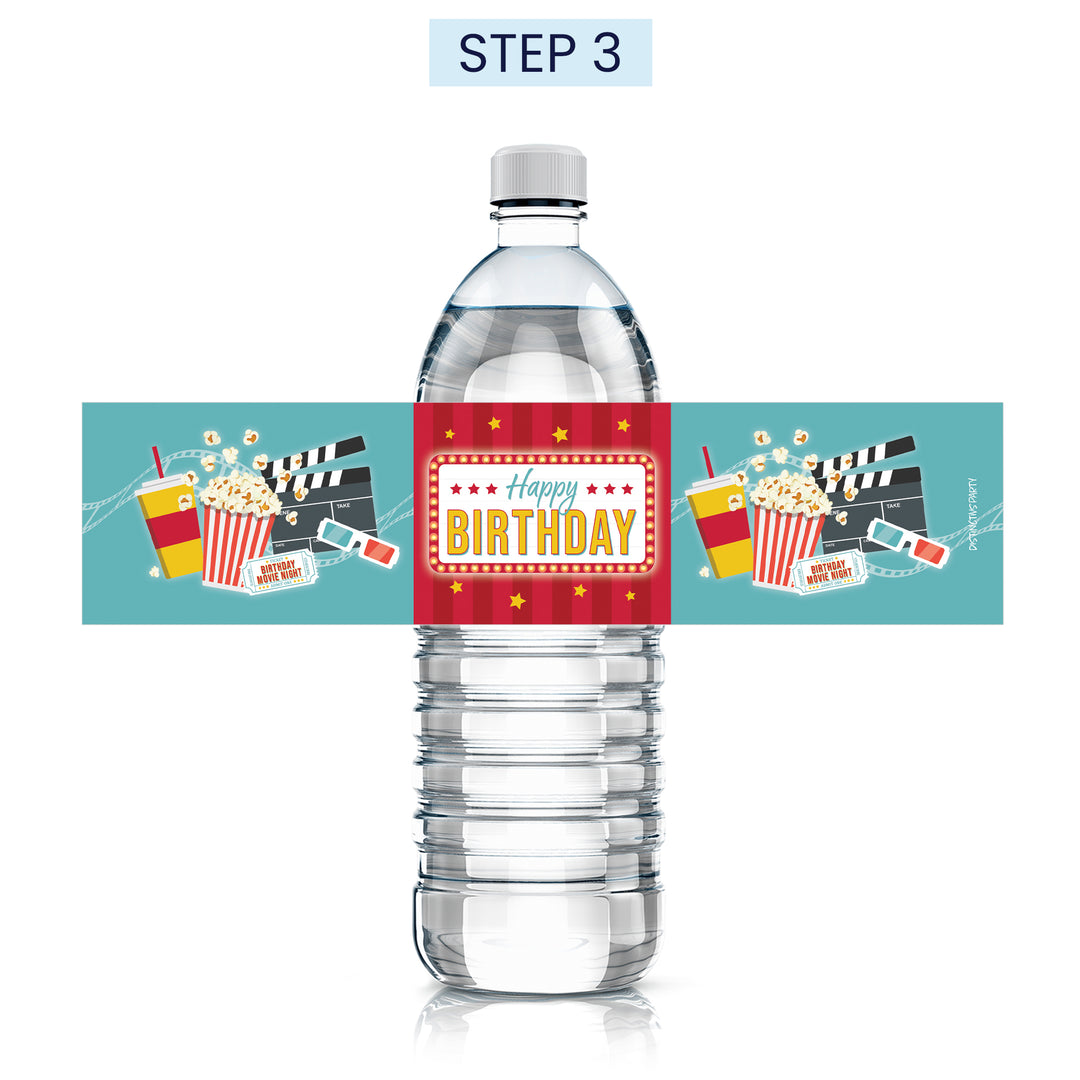
Step 3: Place Center of Label
Position the sticker onto the water bottle, making sure it's aligned in the center and straight across. Gently apply light pressure and smooth any creases or air bubbles. This attention to detail will elevate your water bottles, transforming them into delightful, personalized refreshments that perfectly complement your event's theme or occasion.
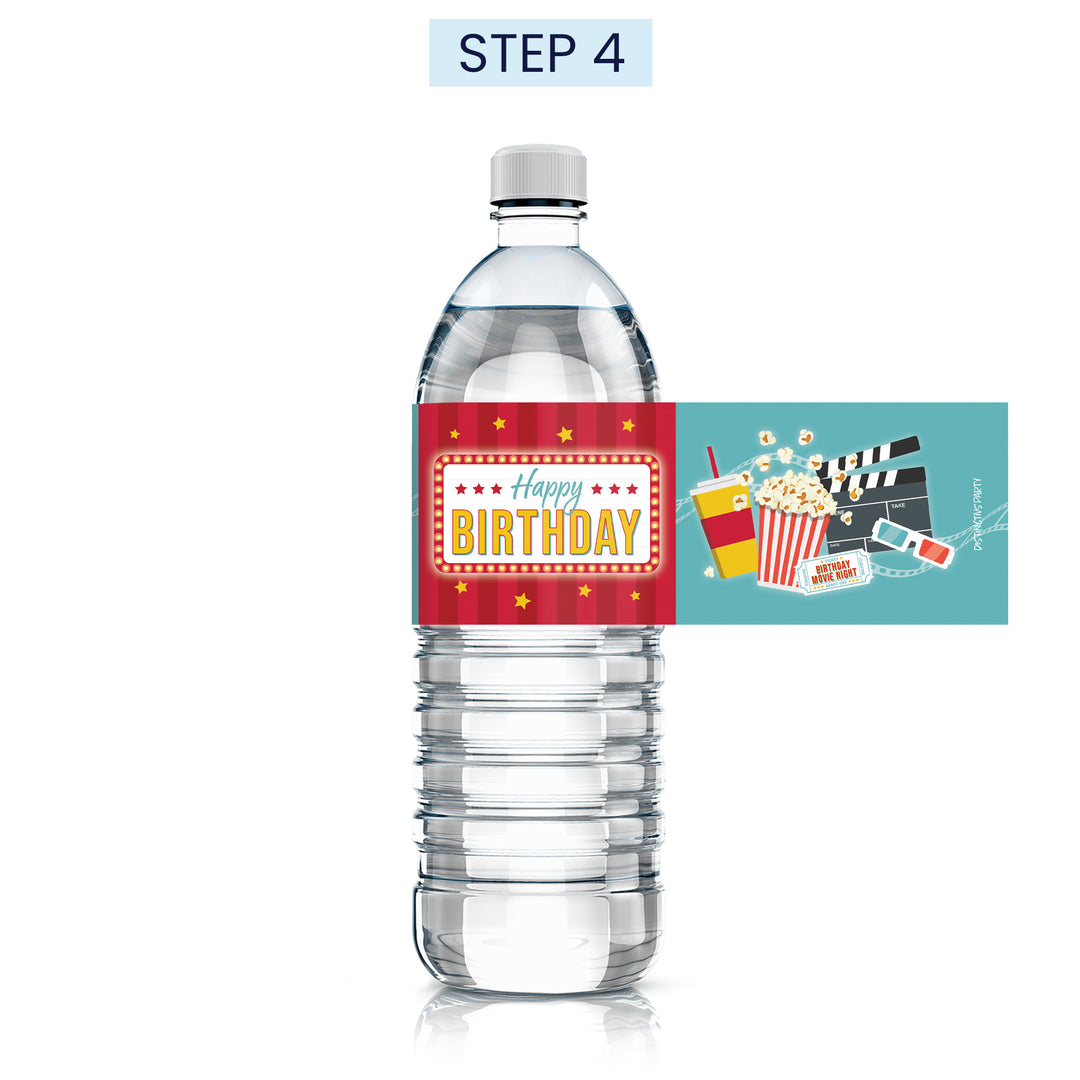
Step 4: Wrap Sticker One Side at a Time
When applying the sticker wrapper to the water bottle, tackle one side at a time. As you wrap the second side, there will be a slight overlap. This will create a polished appearance, transforming your water bottles into charming and customized delights for your event.
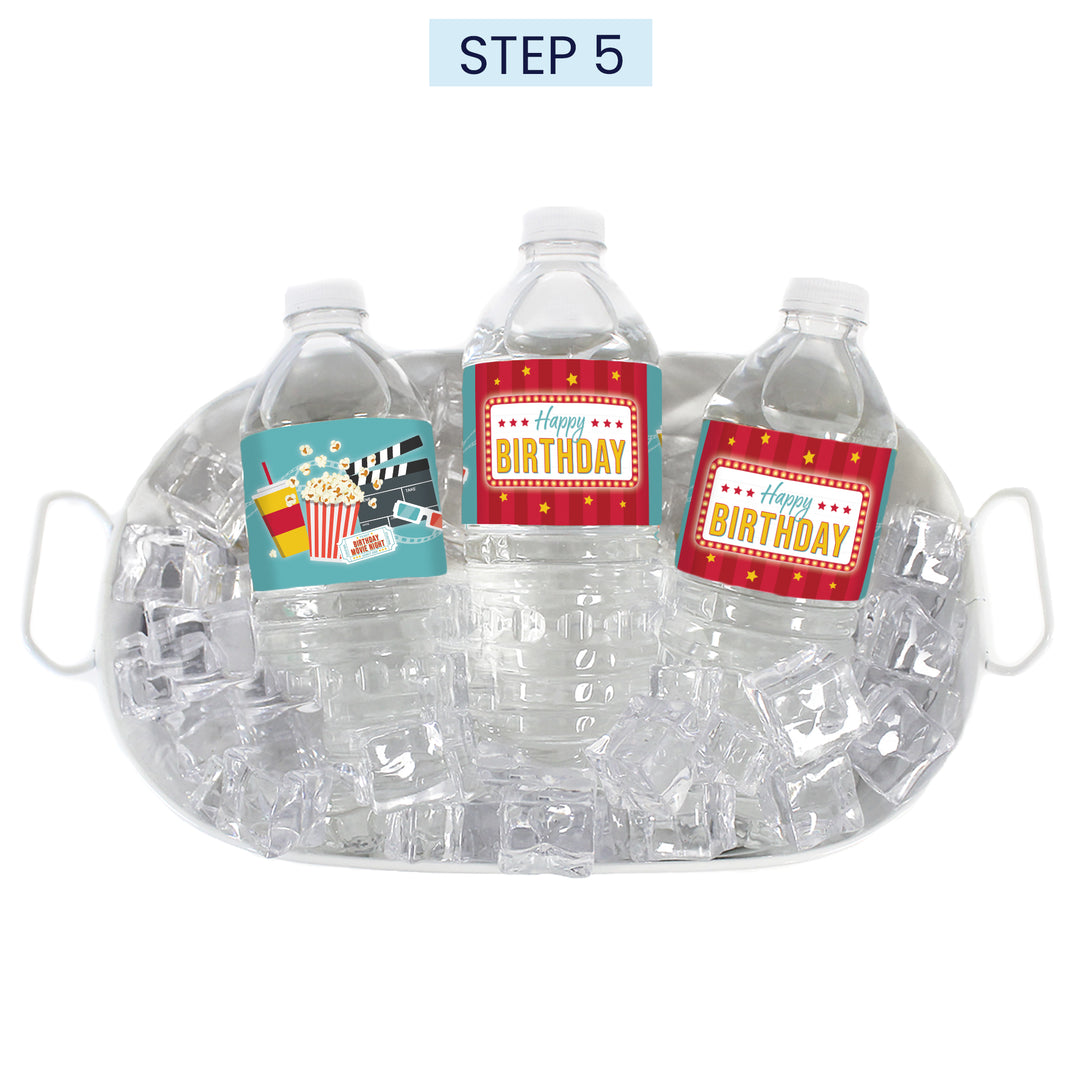
Step 5: Chill & Enjoy
After wrapping your water bottles place them in the fridge or cooler with ice! Rest assured, our labels are waterproof, ensuring that they withstand the cool temperatures and condensation without losing their vibrant colors or adhesion. Stay cool and enjoy the functionality and aesthetics of our water bottle labels!

Need Some Ideas?
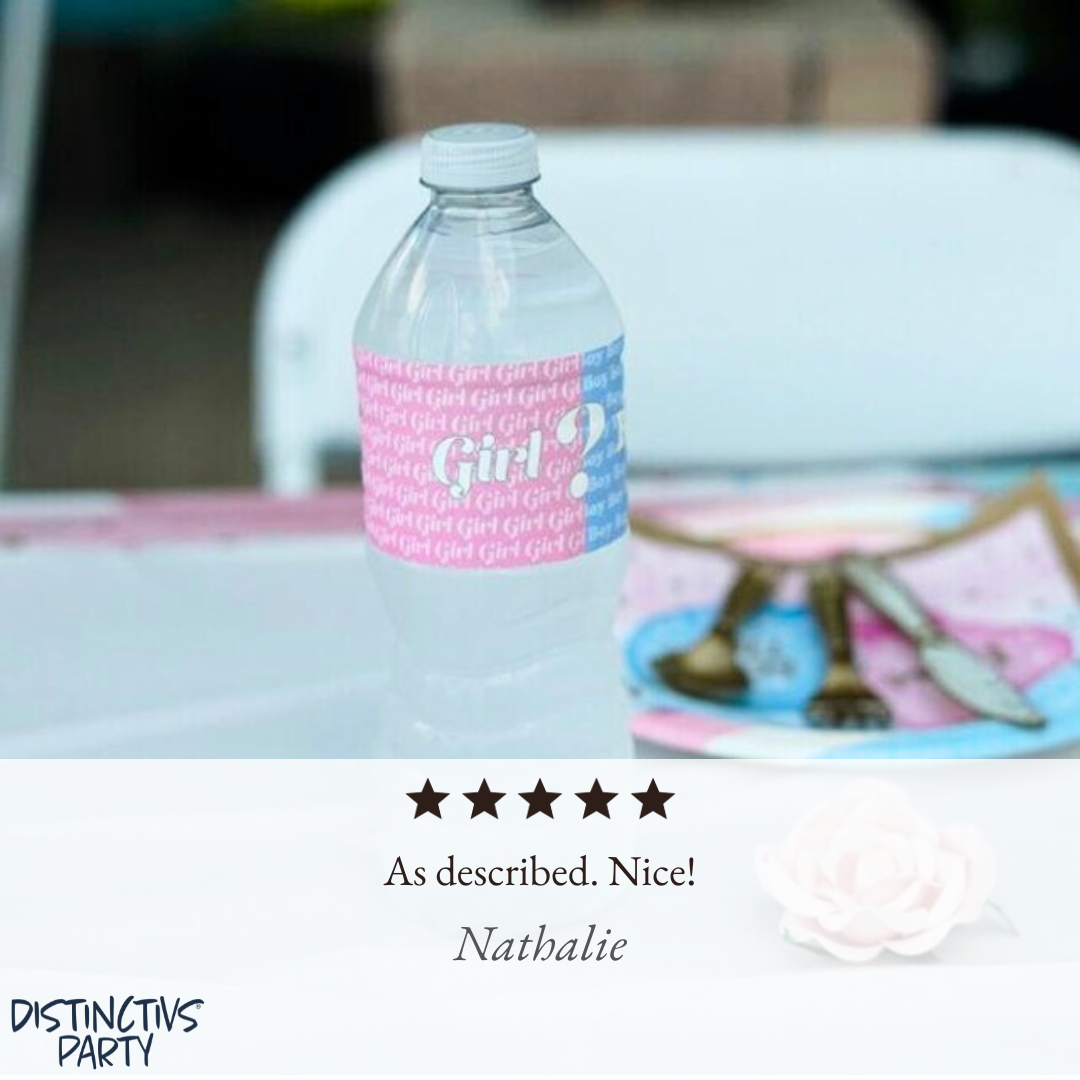
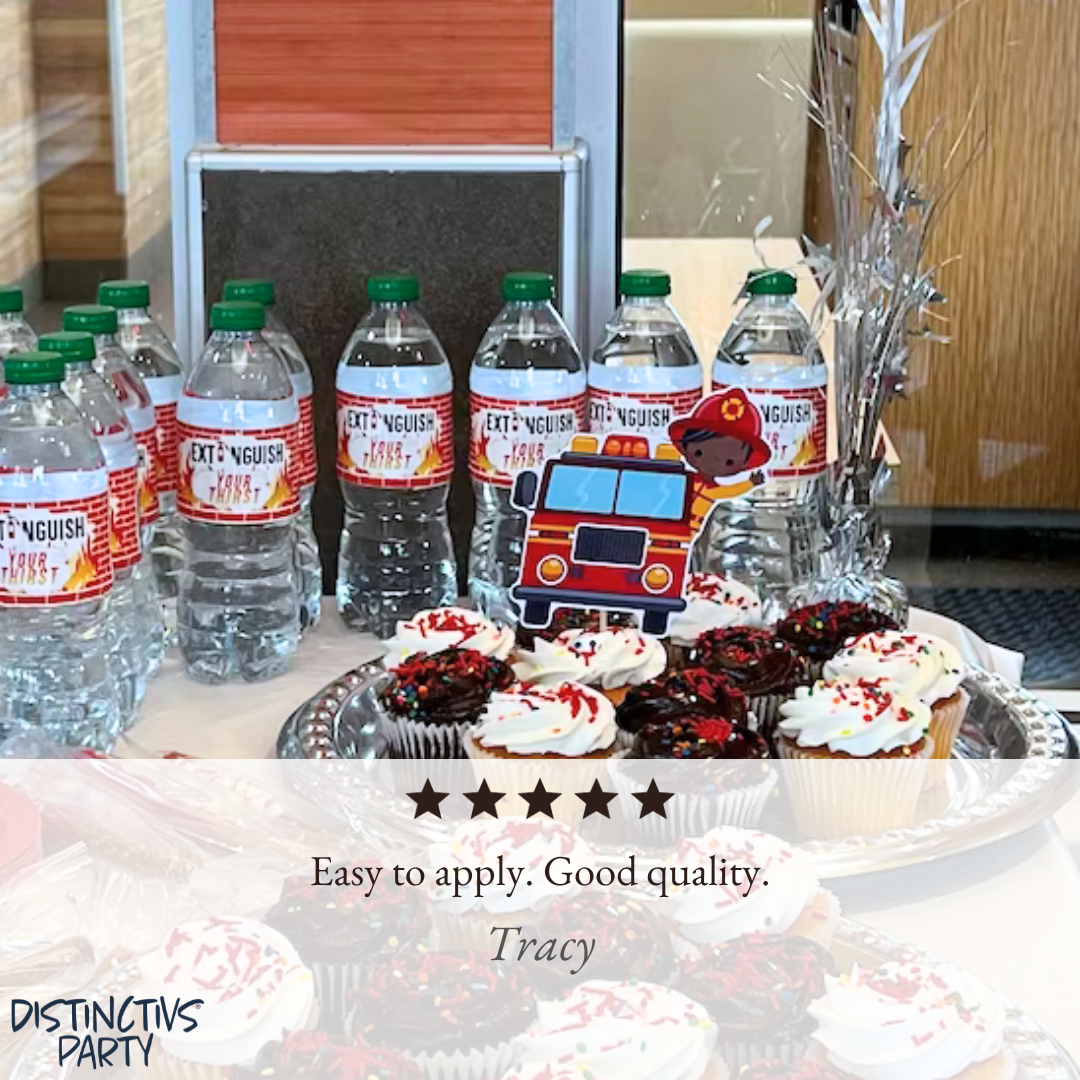
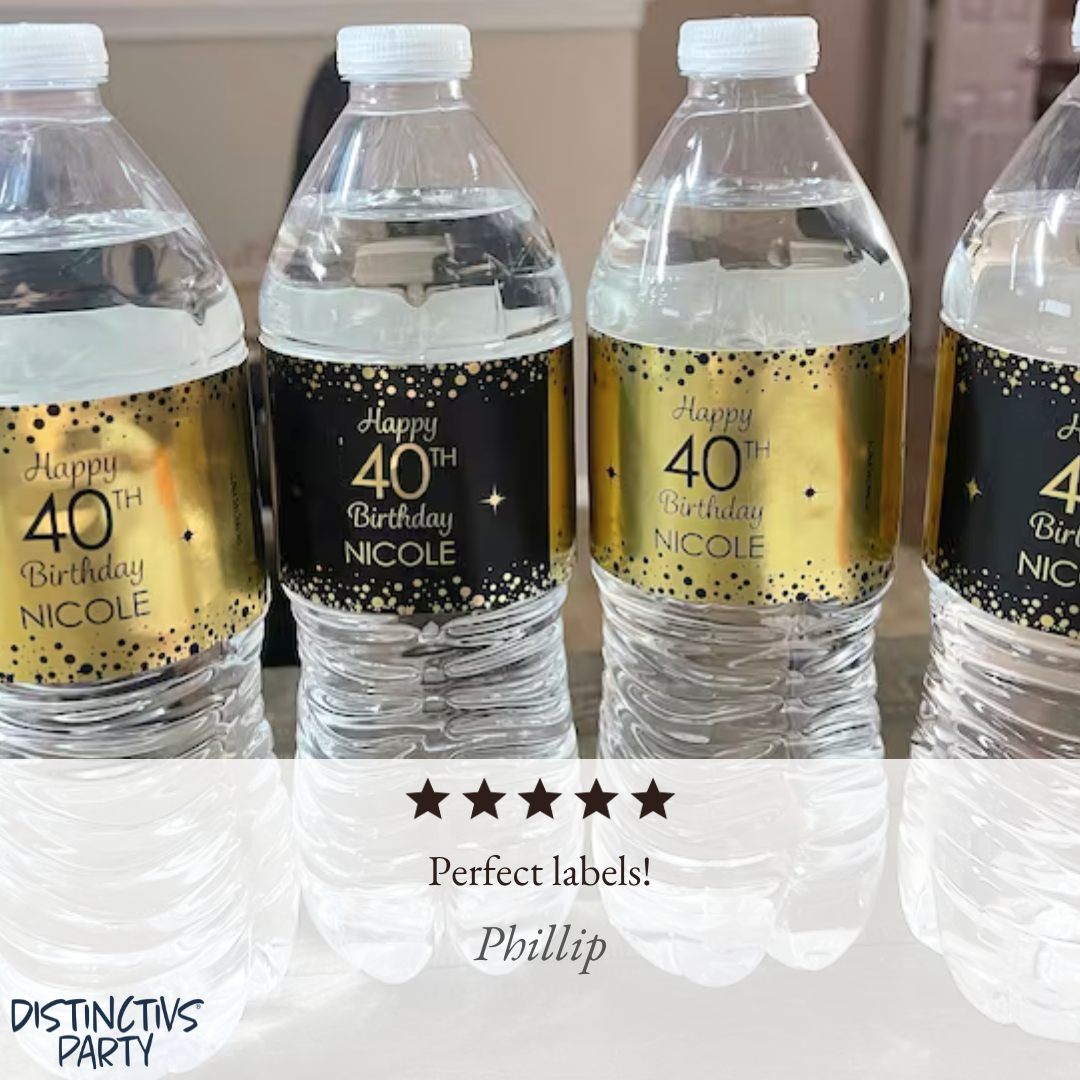
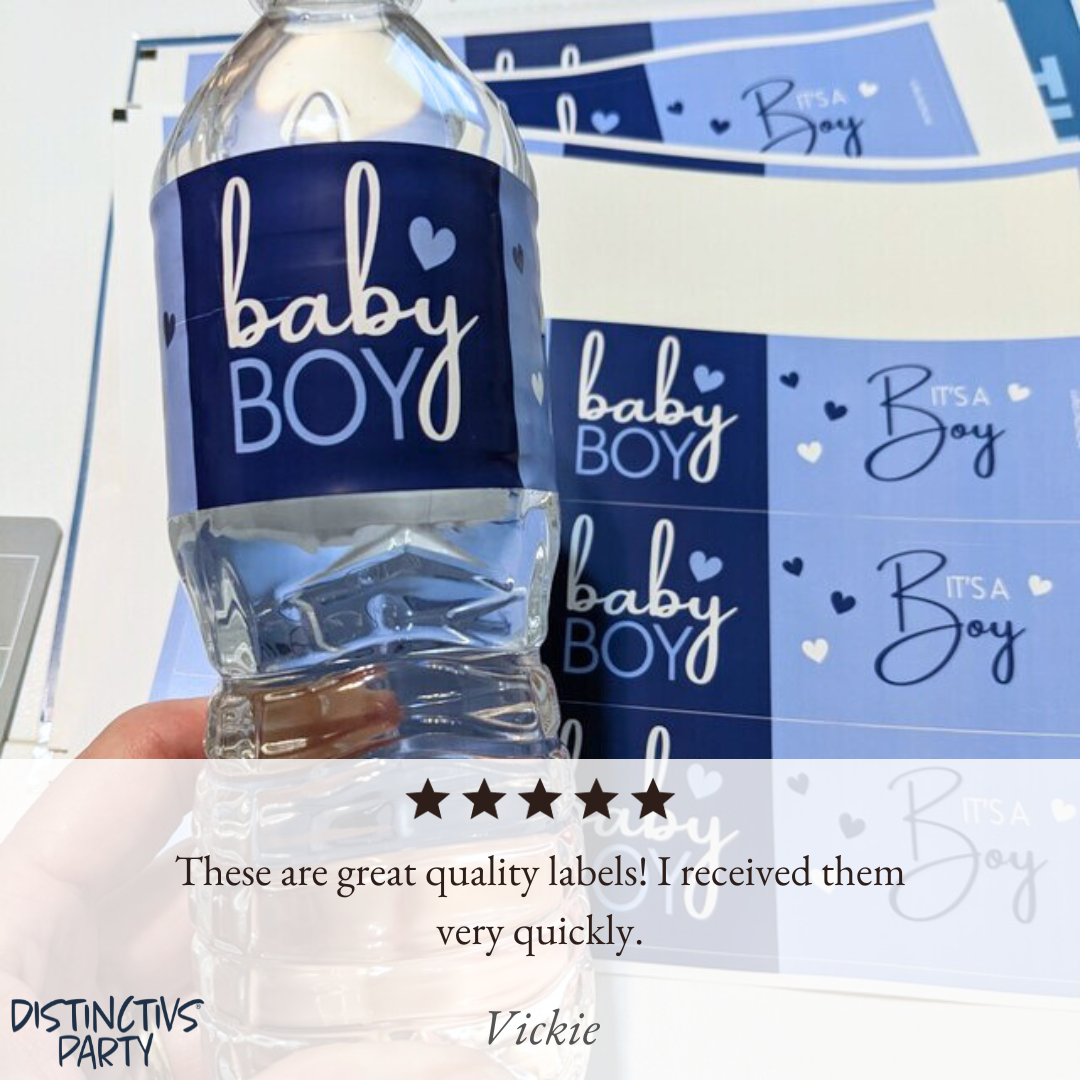
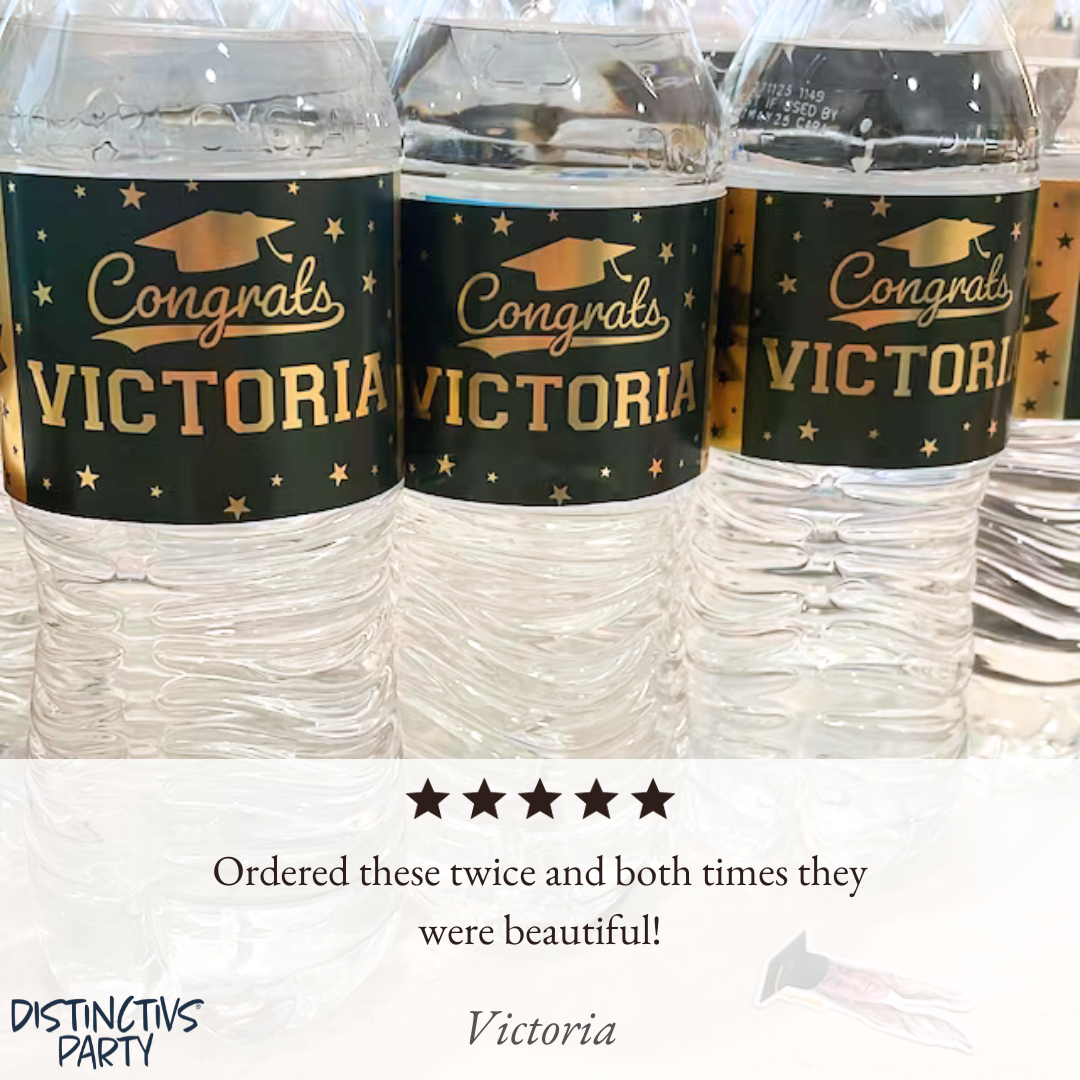
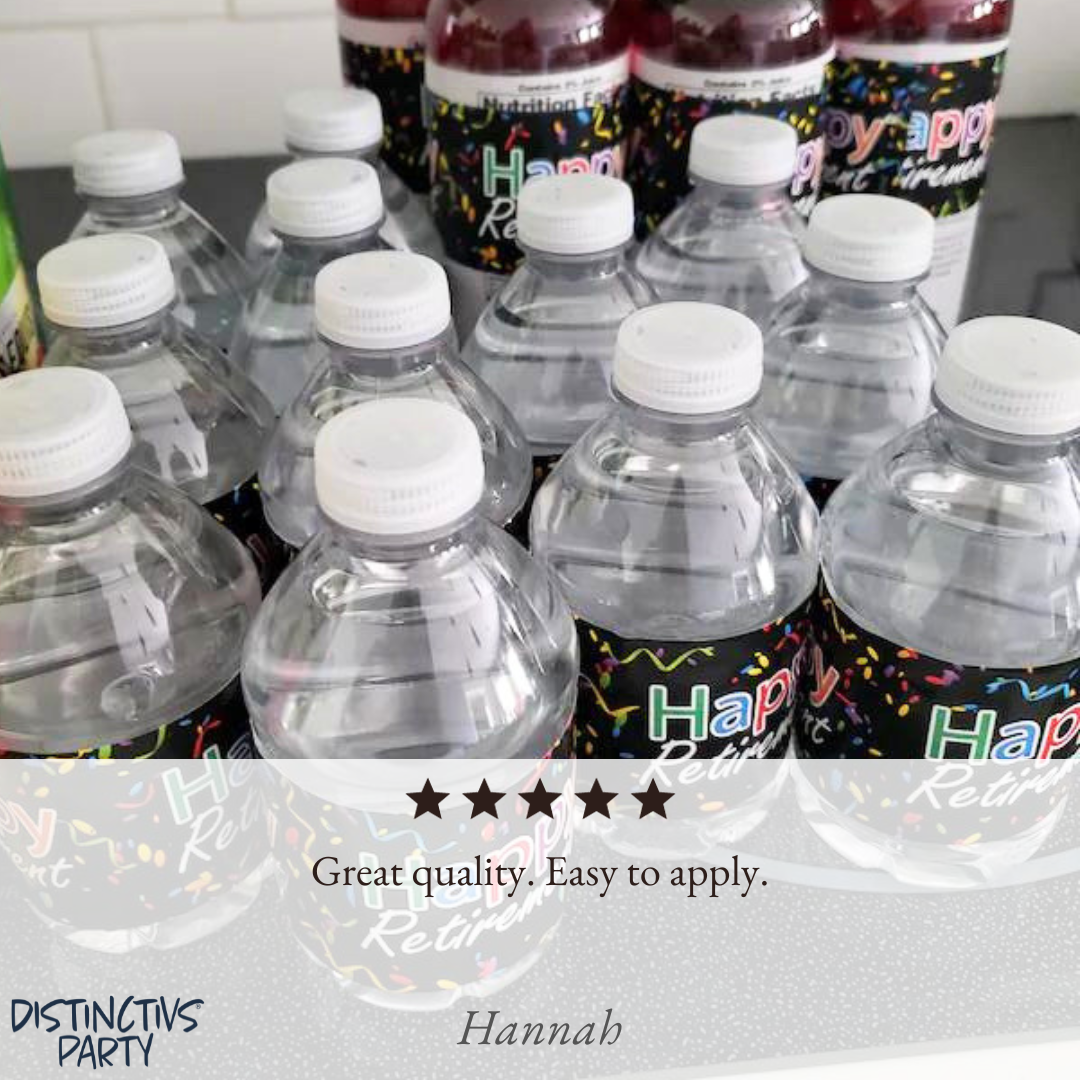
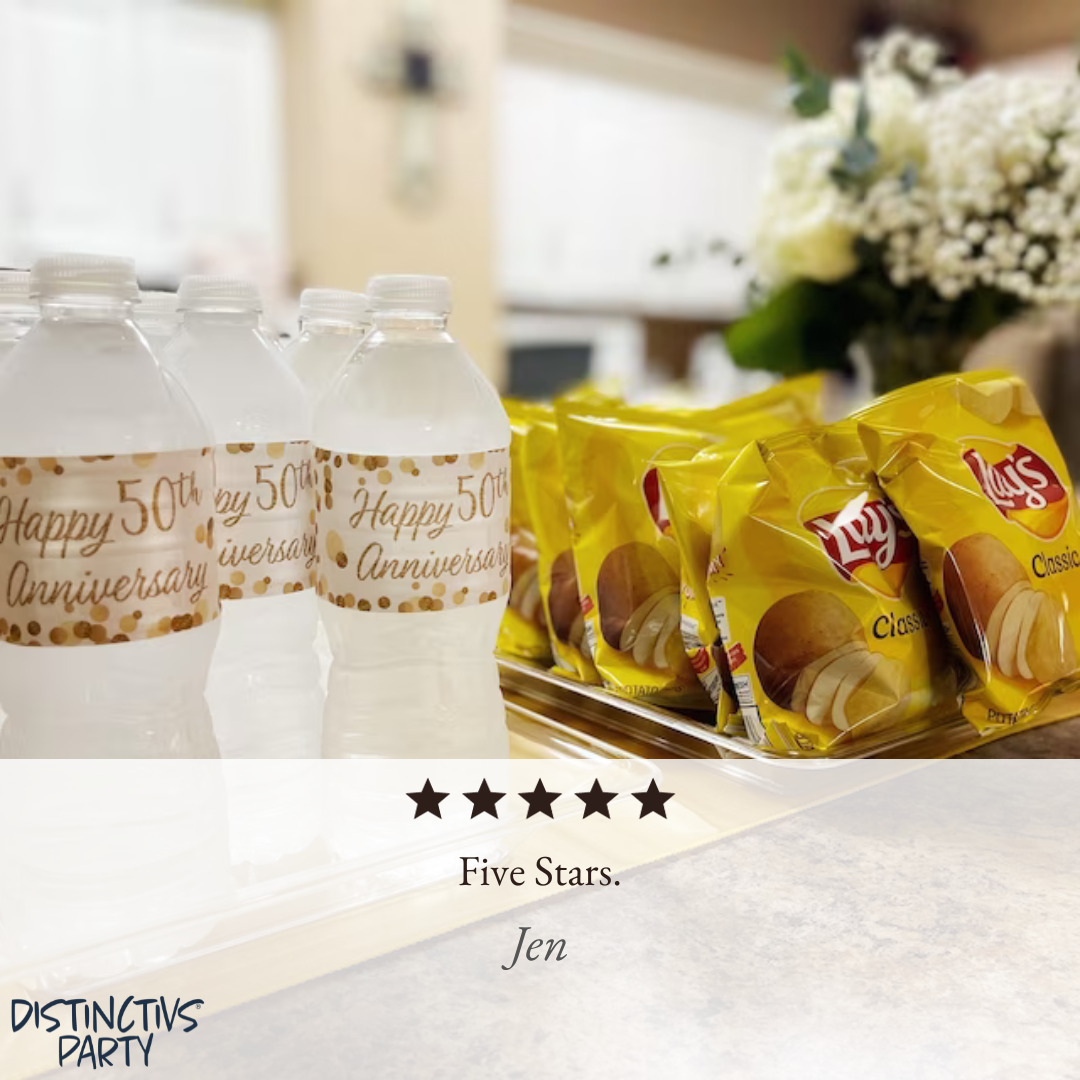
Check out how some of our customers have used our water bottles at their special events!
